Weighing scales are mostly available in all the homes. Some of you may have a digital weighing scale while some of you may have an analogue weighing scale. The fact that digital weighing scales are easy to ready and easy to use makes them a popular choice when compared with their counterparts. However, one thing remains common with both the weighing scales and that is calibration. Yes, you need to calibrate your weighing scale in order to get the accurate result so how do you do it? Well, in this article, we have listed the process to calibrate the weighing scale and here are more details.
How to Calibrate a Weighing Scale

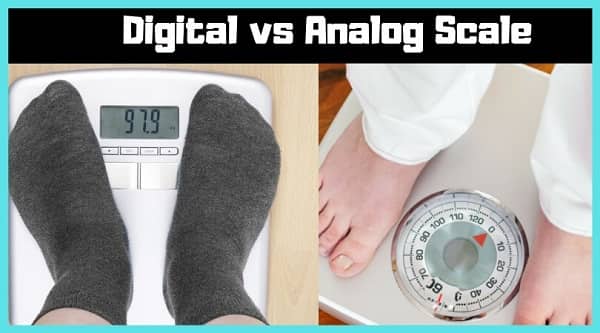
Calibrating the Analogue Weighing Scale
These are the easiest to calibrate. You just need to stand directly above the weighing scale and look at the dial. The measuring line should align with 0. If it doesn’t then you need to look for the dial behind the display and you will notice a small calibration dial. Rotate it in required direction until the measuring tip aligns with the marking for 0. With this, the analogue weighing machine will be aligned. Please note that you should see the reading from directly above the machine or else you will end up getting a parallax error
Calibrating the Digital Weighing Scale
Calibrating the Digital Weighing Scales is much easier now. There are scales that come with auto-calibrations and hence there is no need to calibrate those weighing scales. As soon as the weighing machine is turned on, the weighing machine sets itself to 0. After you measure the weighing, the weighing machine calibrates itself every time. So, this practically eliminates the need for calibration. Moving ahead, let us look at the calibration procedure for the machines that need them.
- Now, there are some machines that need your help in calibration. In such a case, you can start the preparations by turning on the machine and warming it up. Also, have an object of a definite weight ready for you. You can even have measuring weight ready with you for calibration purpose.
- In this step, you need to enter the calibration mode. You will notice a button for Cal or Mode on the machine. You need to press the button and for some machines, it may be required to press the button for a little longer to enter the calibration mode. Once you enter into the calibration mode, you will notice that the screen turns to 0. This initiates the calibration mode.
- In this part, you need to put weight on the machine to see if it really needs calibration. To go ahead, put down the weight of around 15 Kg on the machine. You need to ensure that the weight is placed on the centre part of the machine and that it doesn’t wobble. This is a very important step and you need to ensure that the object weights exactly as per the measurements.
- This is the last step and once your scale takes the measurements, you can again press the calibrate or mode button. This will end the calibration cycle and post-calibration, the display will show End, Cal or 0. Now the machine will reset automatically once this has been done and if your machine requires a manual switch off then simply turn off the machine and leave it as it is for next 2 minutes,
These were the steps to calibrate digital as well as the analogue machine. At first part, it is better to opt for the machine which has a feature for auto-calibration. This would certainly be better than choose the machine that needs to be calibrated. If you still have an analogue machine then you can choose to calibrate it as soon as you notice an error. If you have a digital machine that needs manual calibration then you can go ahead and calibrate it once in 2 months. You must check out the user instructions properly before you start any such calibration exercise as the user manual would provide the exact details of the calibration and the correct method. The method may vary from one manufacturer to another. For any issues, reach out to your manufacturer.